Optimize with FineTune
This guide illustrates the fine-tuning process on Studio (UI).


Steps for Conducting FineTuning
The primary steps for conducting fine-tuning are as follows:
These steps are identical to the SDK.
1. Choose a Model
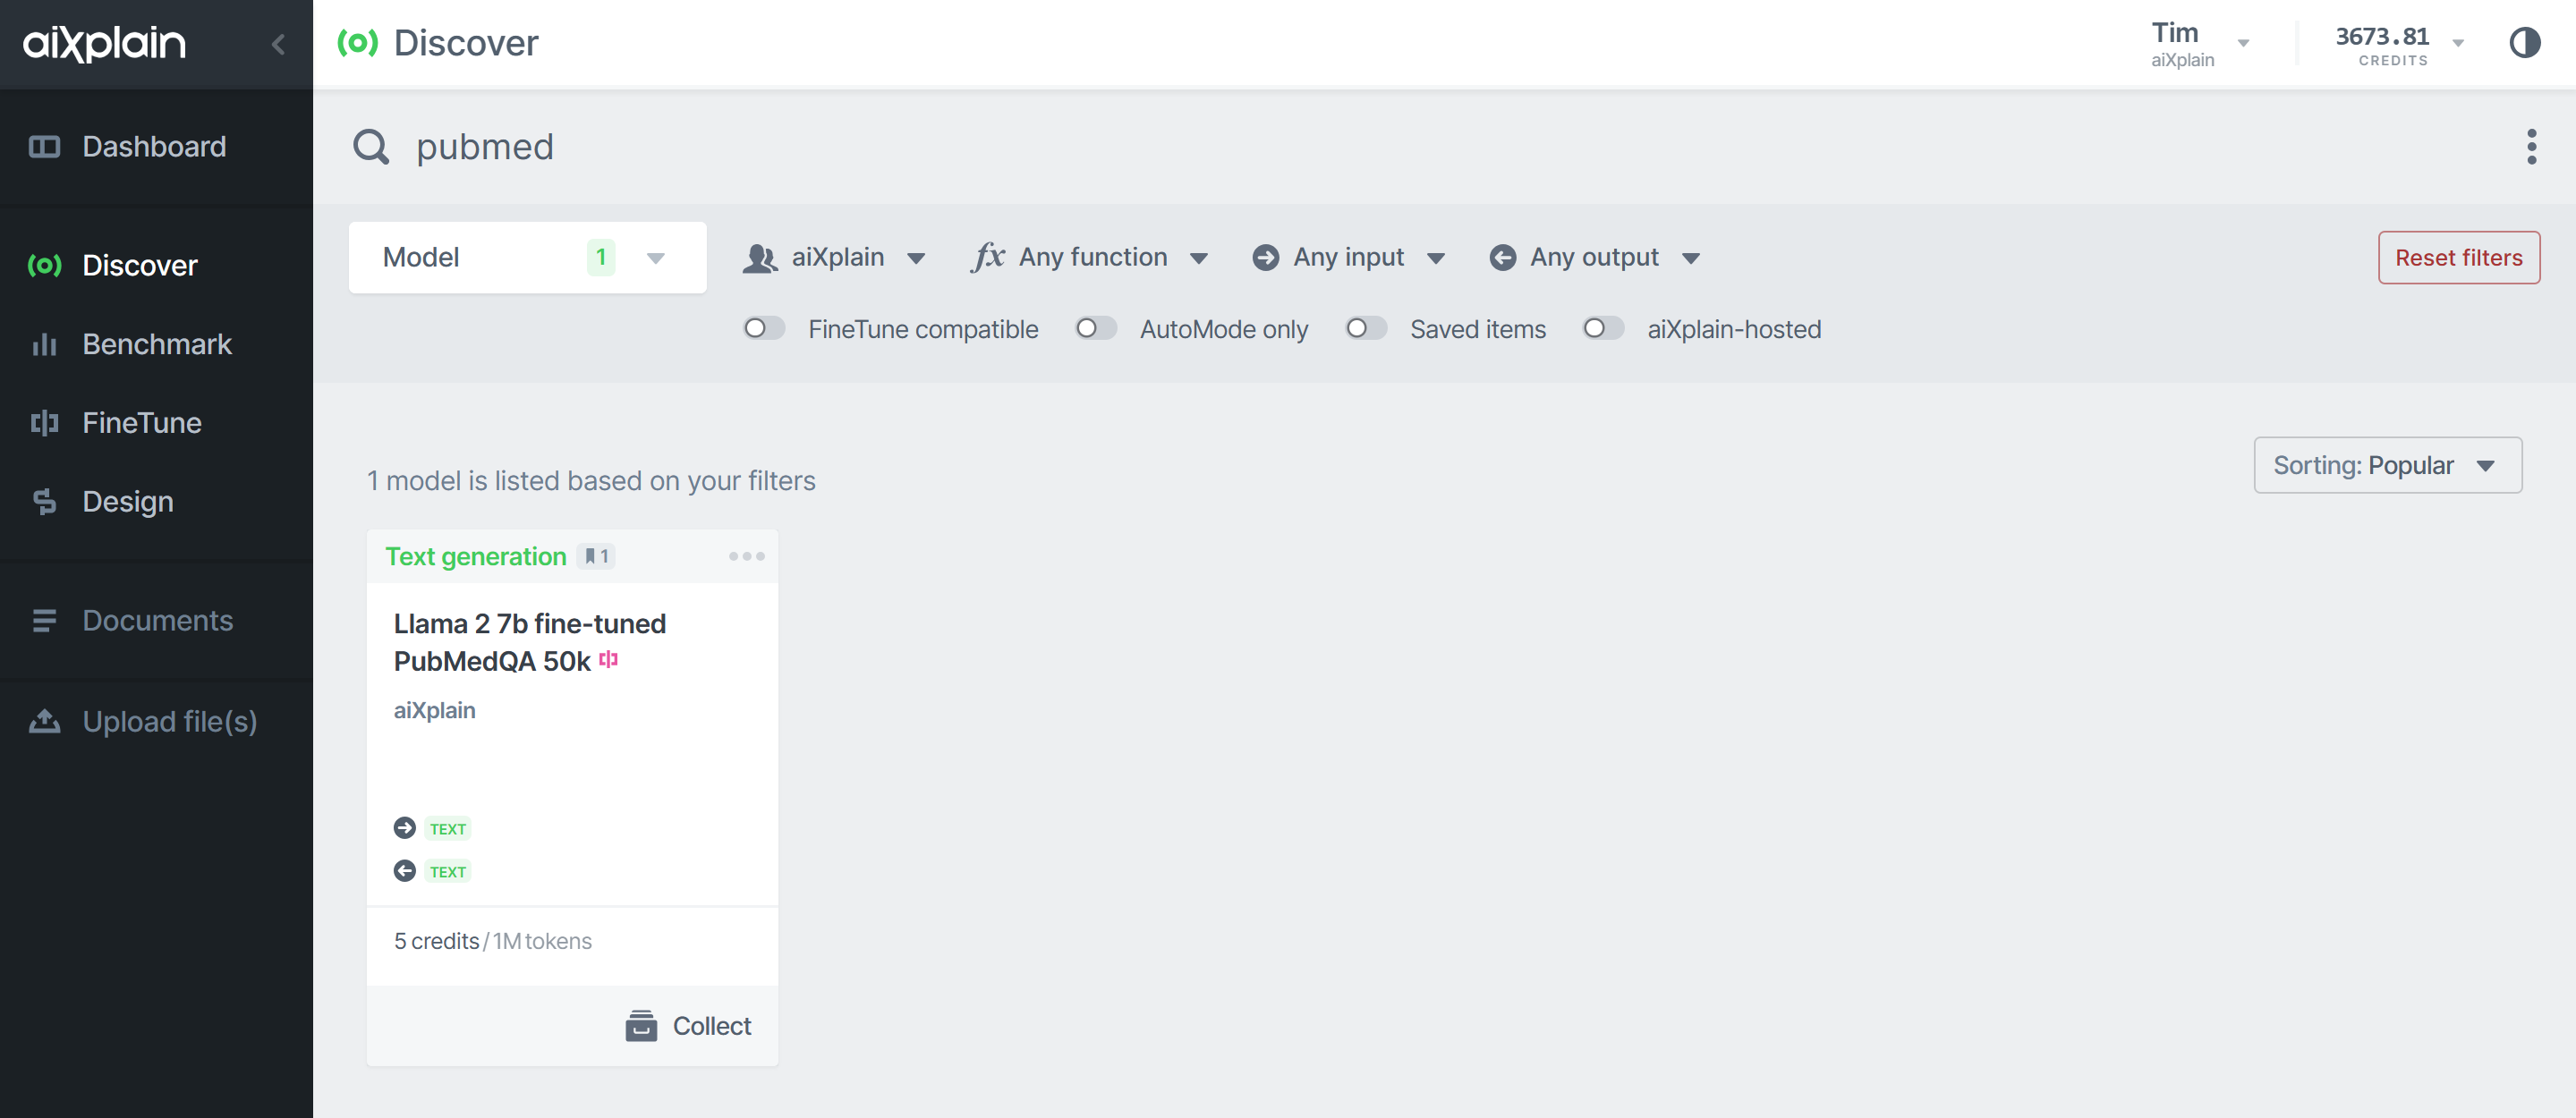
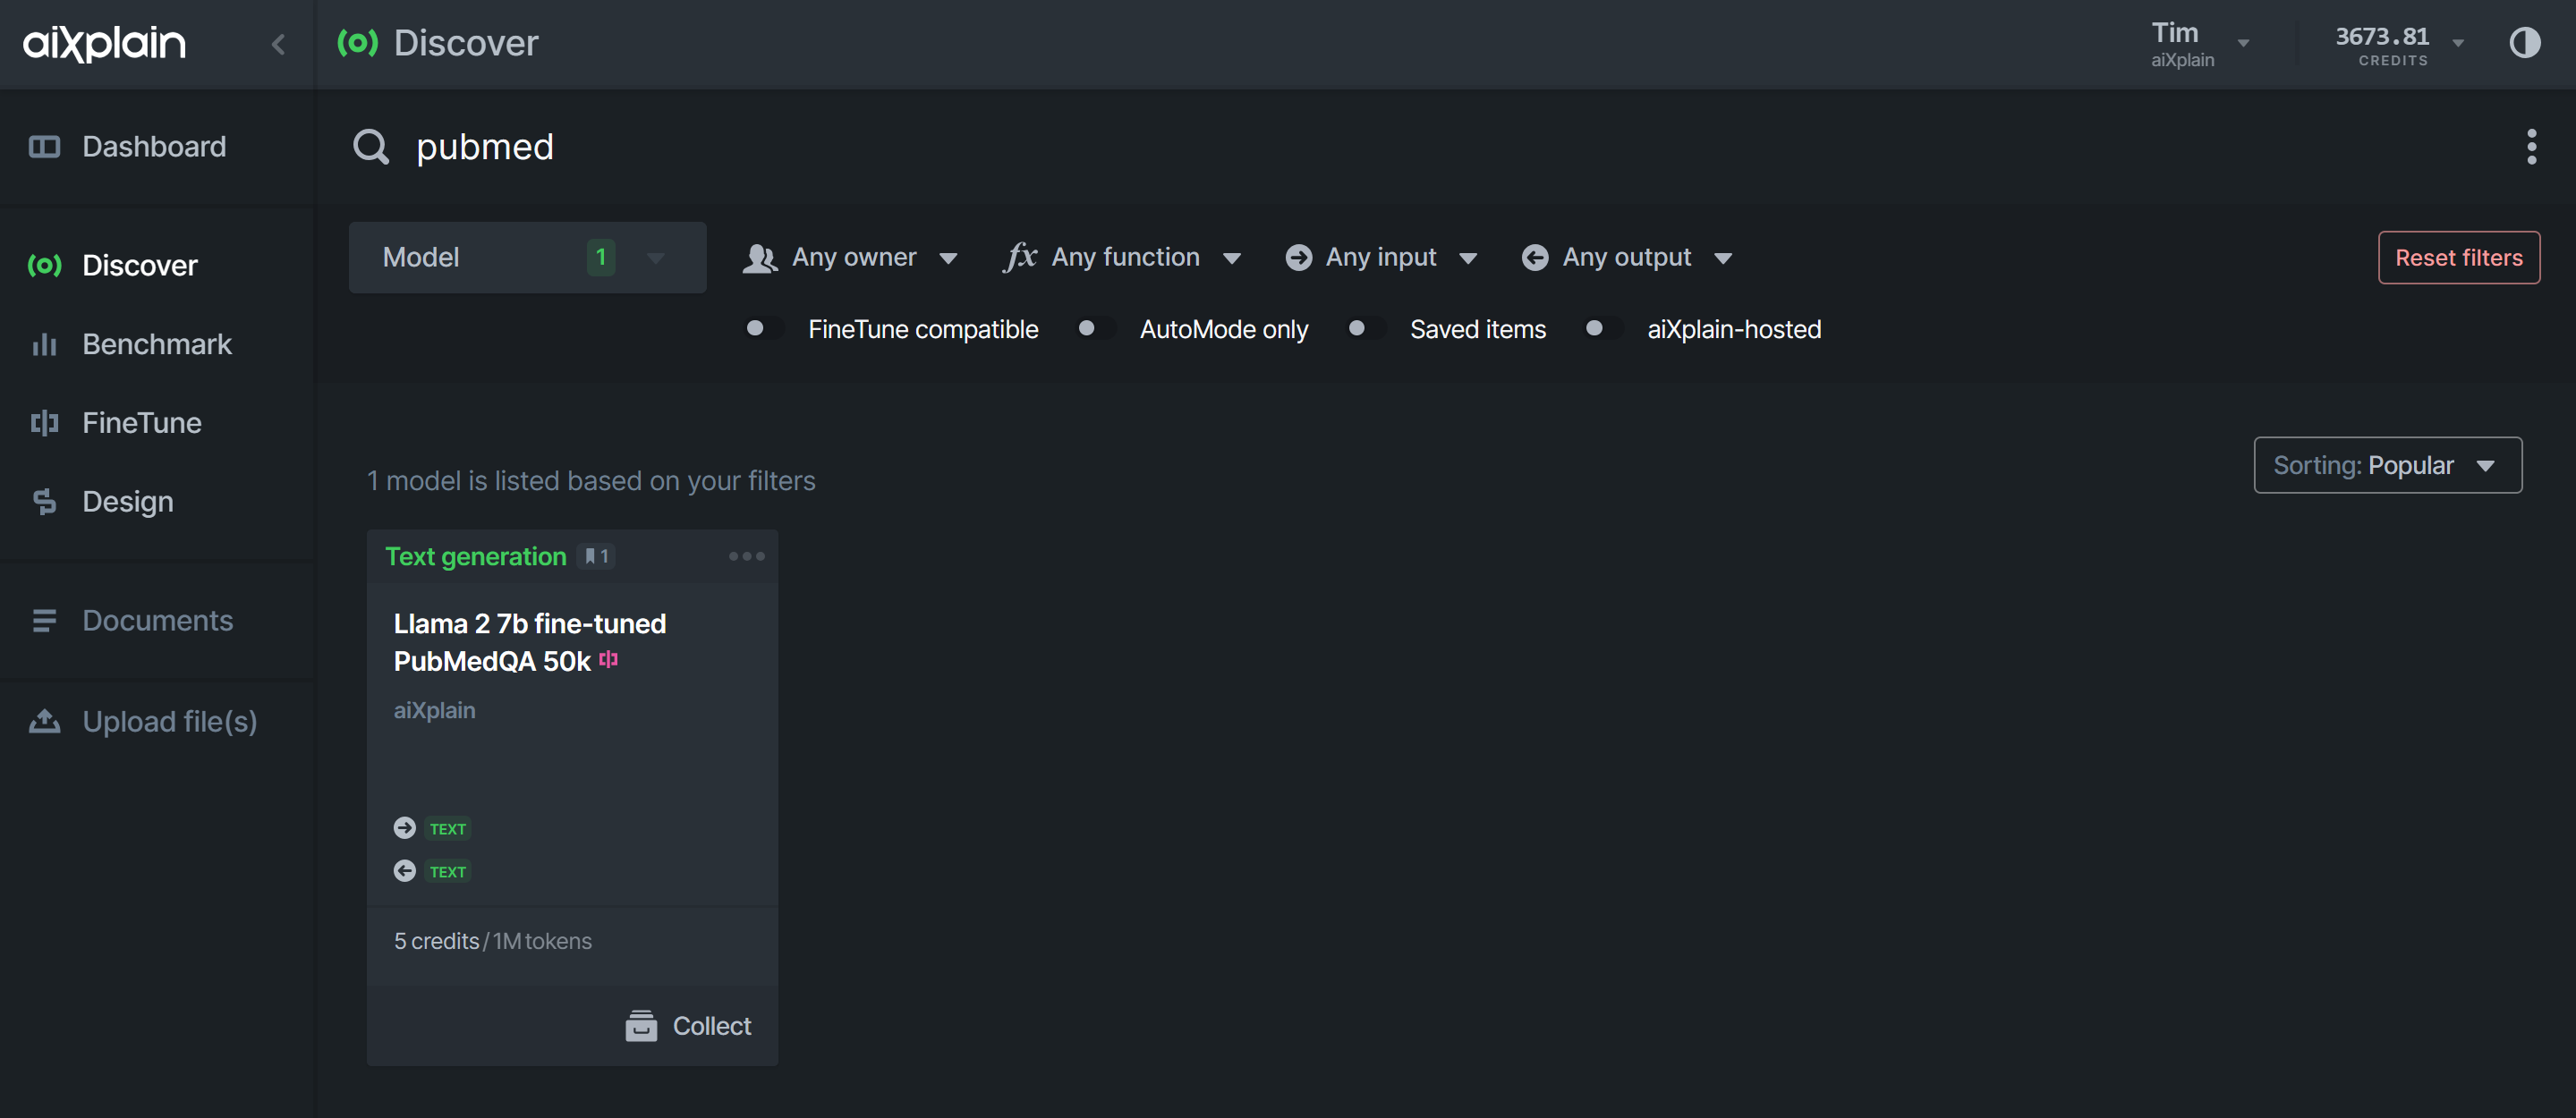
Choose the model you wish to FineTune. Select from models available on the aiXplain marketplace or upload your own (custom or via Hugging Face).
2. Select Data
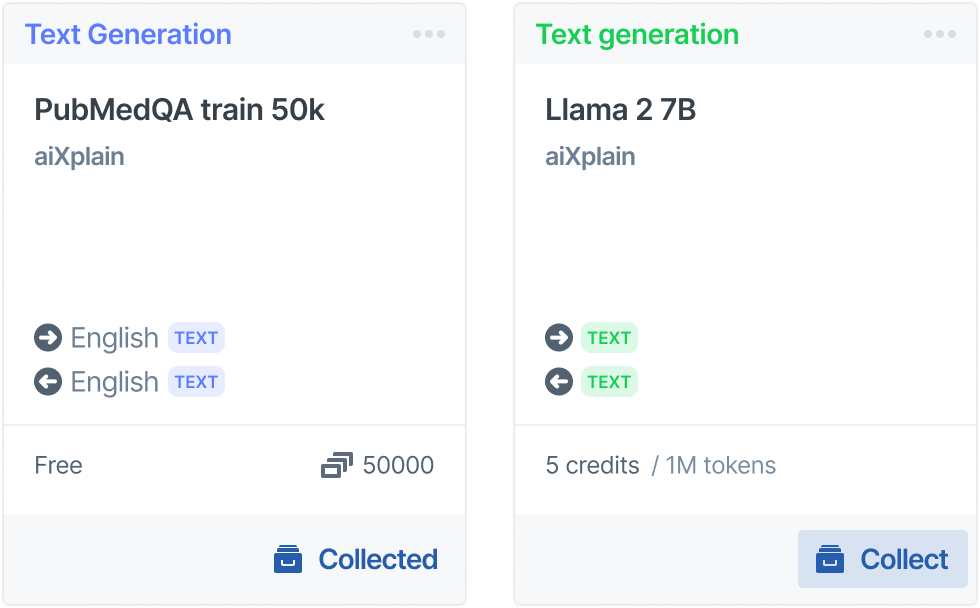
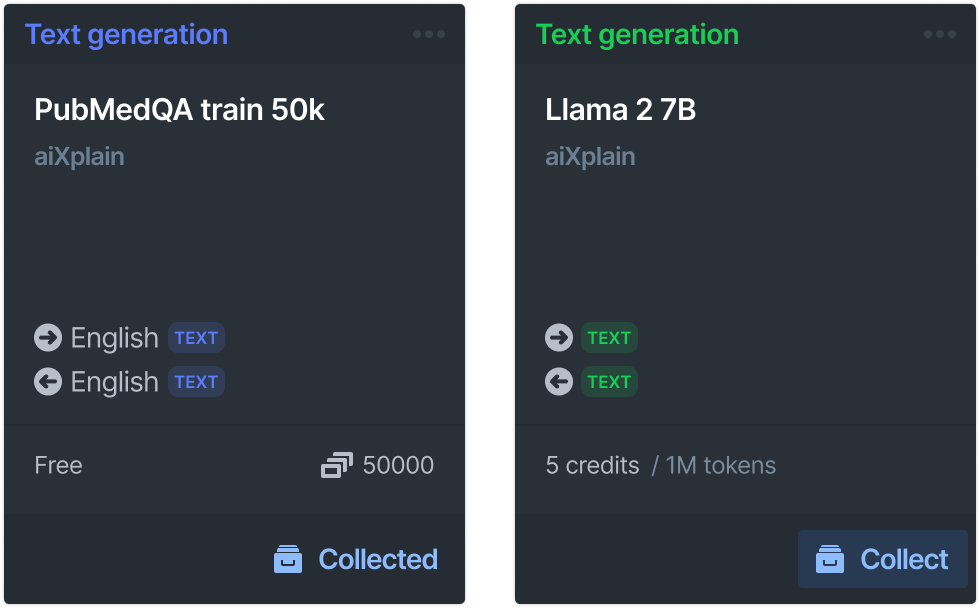
Select datasets for fine-tuning. You can upload your datasets or utilize existing ones (coming soon) from Discover. The datasets must be compatible with your chosen model. E.g., a model with text input and text output requires a dataset with text input and text output.


3. Configure the FineTuning settings
Customize your fine-tuning job by configuring the settings. These settings include the FineTune name and the train/test(dev) split. Please note the estimated fine-tuning and hosting costs, which vary based on the model you are fine-tuning. (In general, larger models cost more to host and run.)
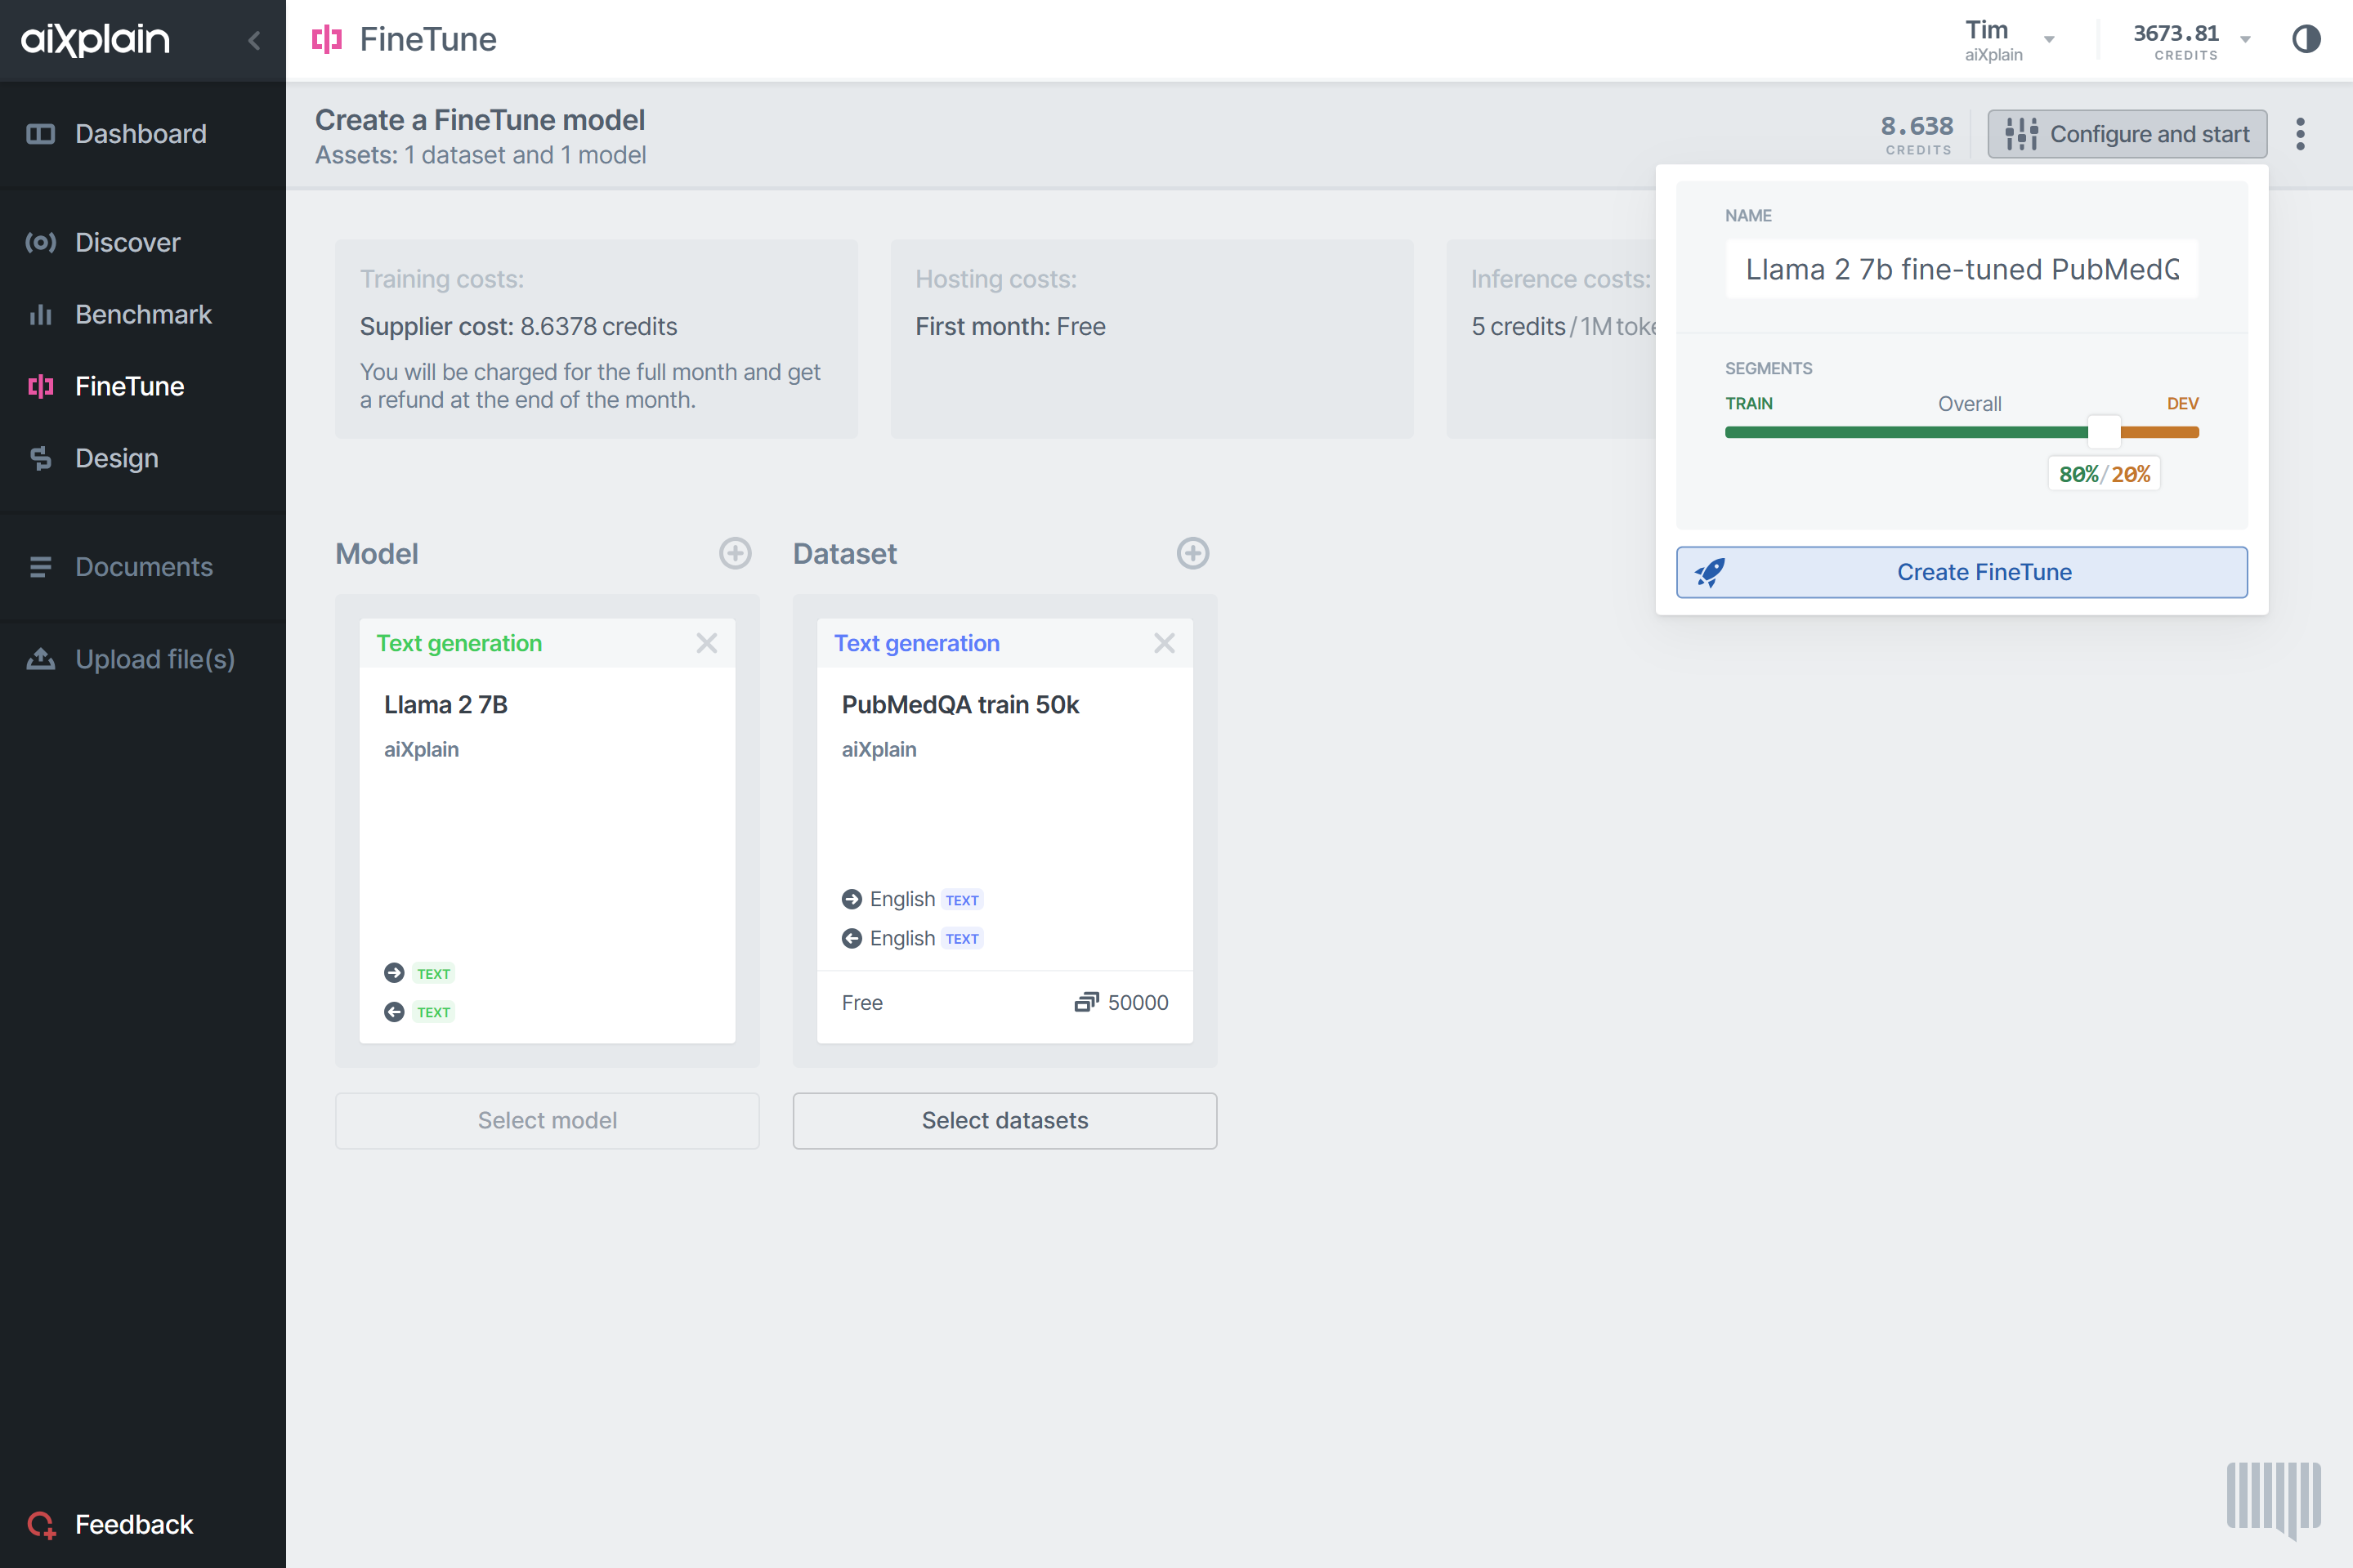
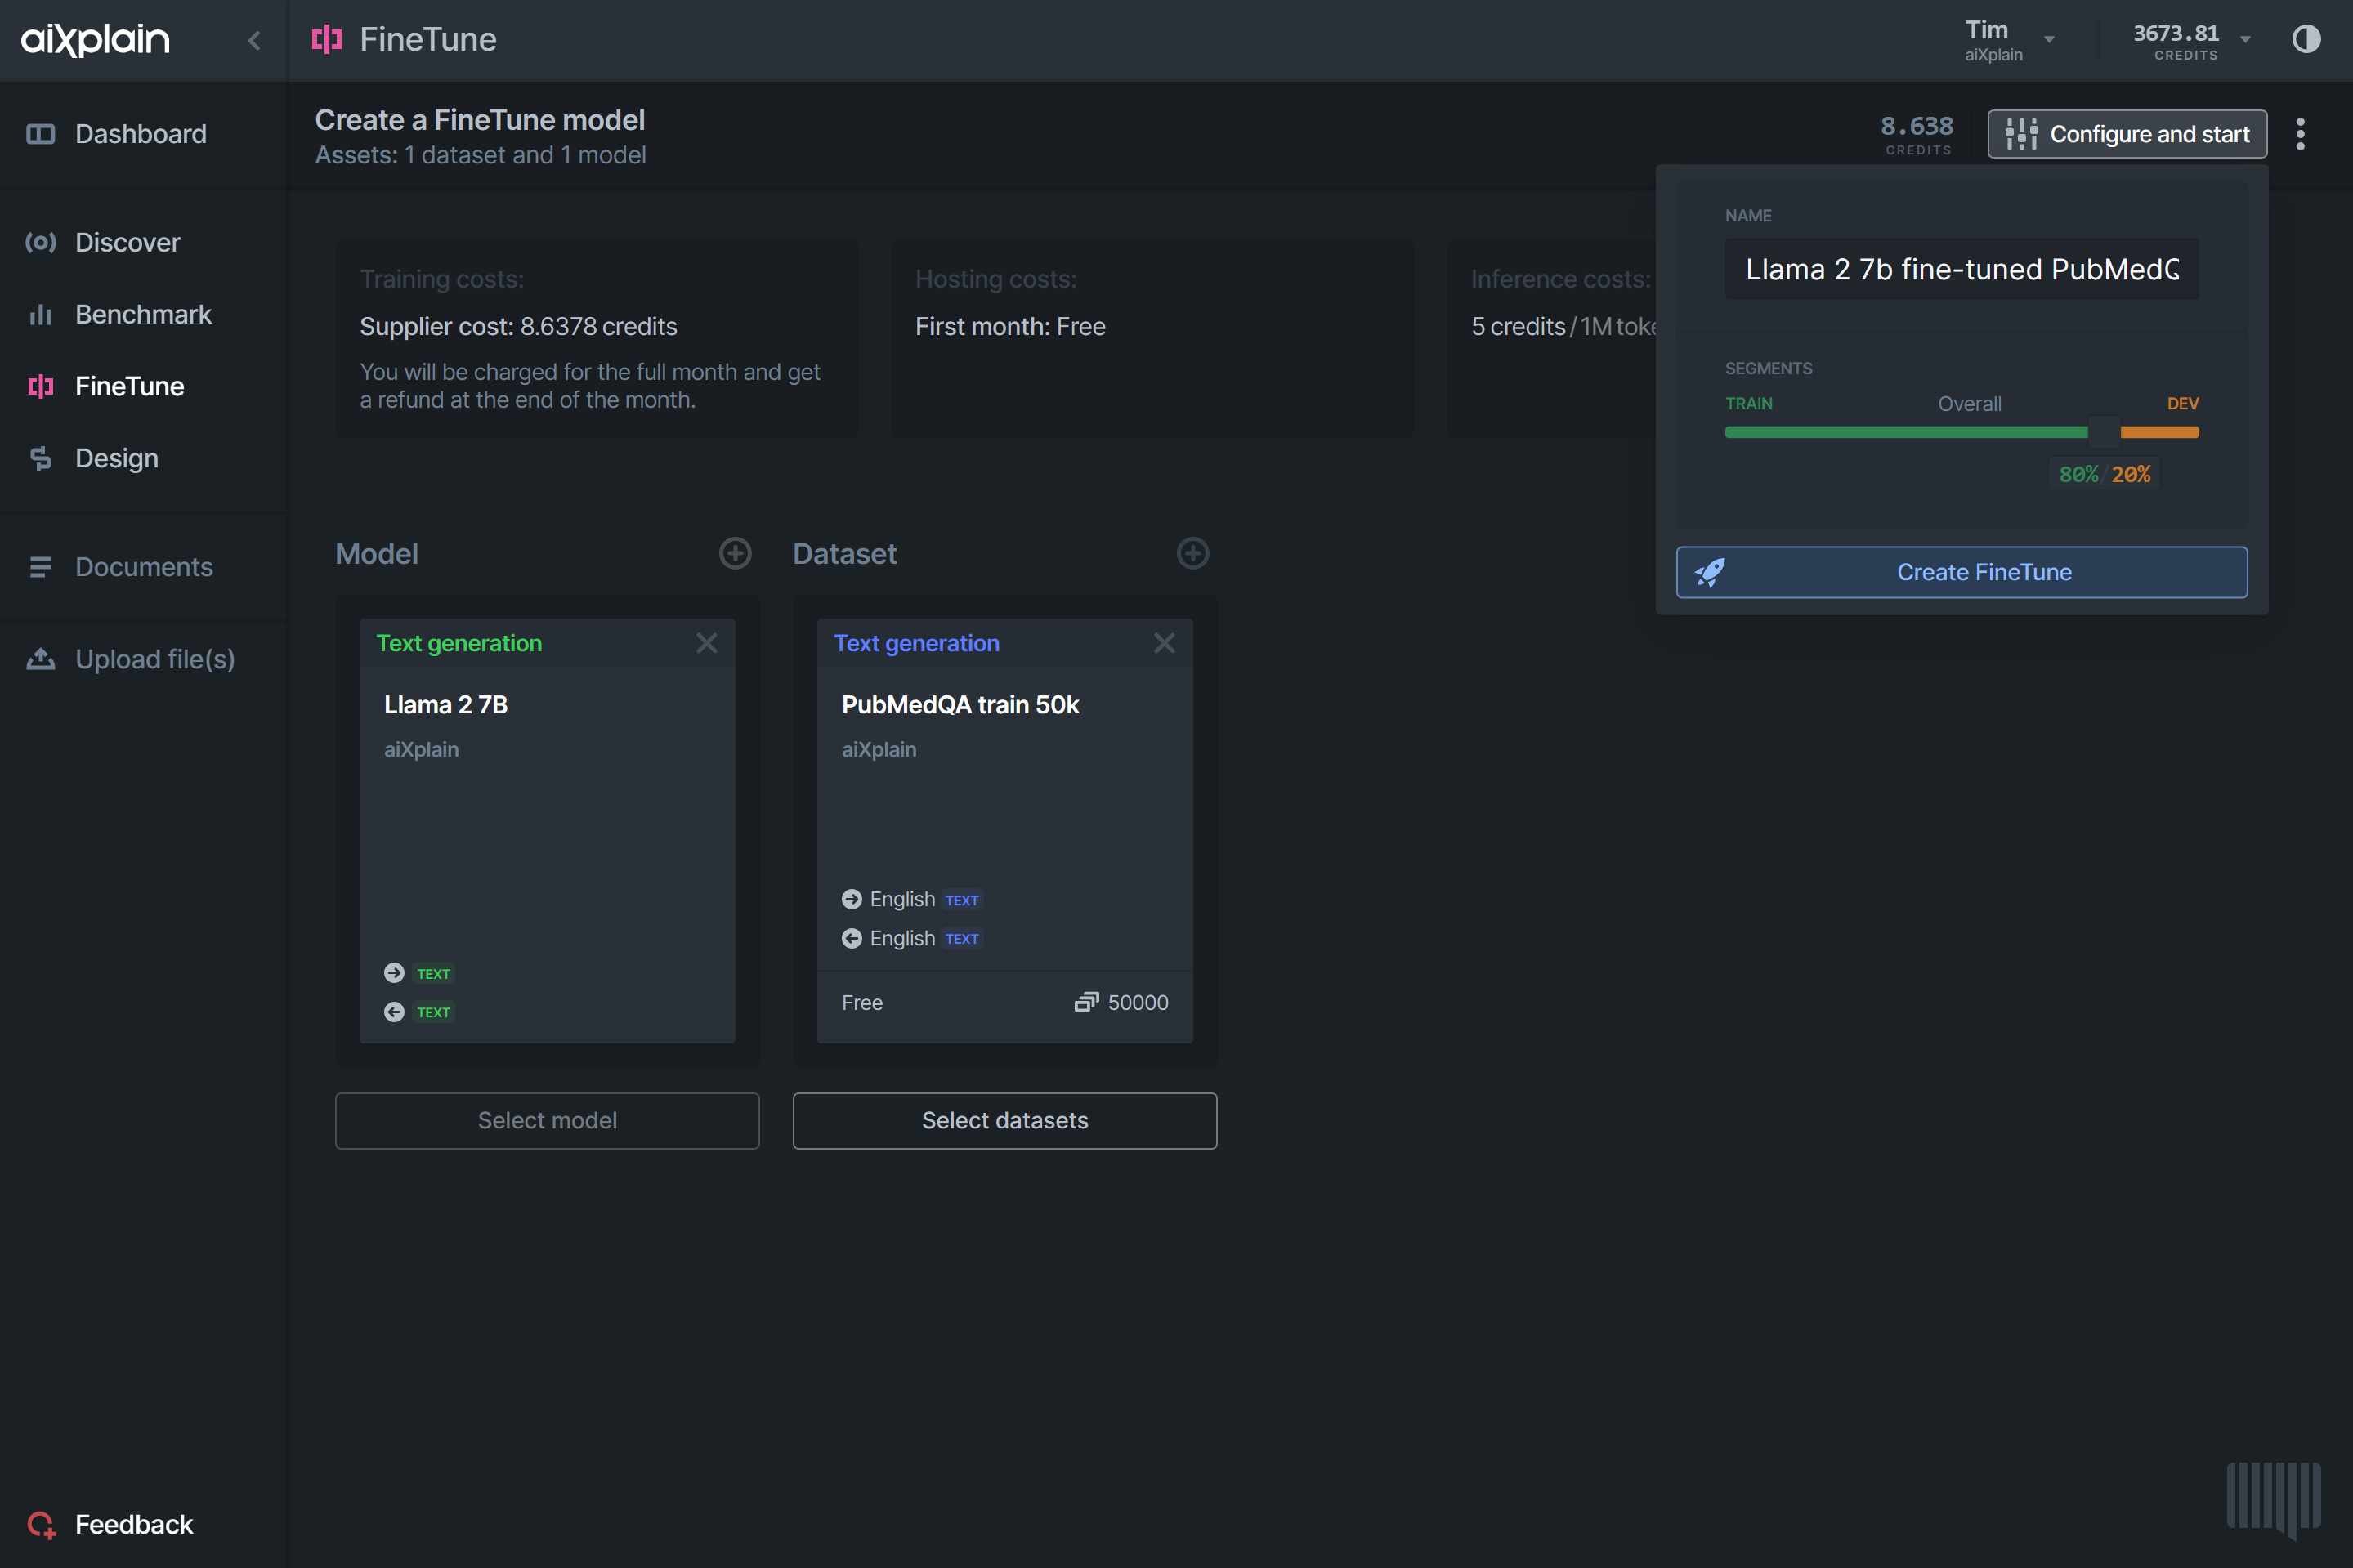
4. Initiate the FineTune process
Click the "Start FineTune" button at the bottom of the "Configure and Start" bar. Once the fine-tuning process begins, you will see the progress and an estimated completion time. Fine-tuning can take several minutes to hours, depending on the model you select, the size of the dataset(s) and the number of epochs (only on SDK) you choose. You can find your FineTune model card in your assets, which you can view and use once training is complete.
