Evaluate with Benchmark
This guide illustrates the benchmarking process on Studio (UI).


Steps for Conducting Benchmarking
The primary steps for conducting benchmarking are as follows:
These steps are identical to the SDK.
1. Select the Dataset
Upload a testing dataset for evaluation. For example, if you want to benchmark models that can generate summaries from text, you must upload a dataset containing pairs of text and summaries. You can upload your own dataset or choose from the existing datasets on aiXplain's platform.
2. Choose Models
Upload models with similar parameters. You can select models from the aiXplain's asset drawer, where you can find over 37,000 ready-to-use AI assets. You can also use the custom models you created or uploaded on aiXplain's platform. You need to ensure that the models you select have similar input and output formats and are compatible with the task and the dataset you have chosen.
3. Pick Metrics
Specify metrics to measure model performance. Metrics are numerical values that indicate how well a model can perform on a specific task or dataset. For example, suppose you want to benchmark models that can do automatic speech recognition. In that case, you might use metrics such as WER or CER, which compare the similarity between the generated summaries and the reference summaries.


4. Configure the Benchmarking settings
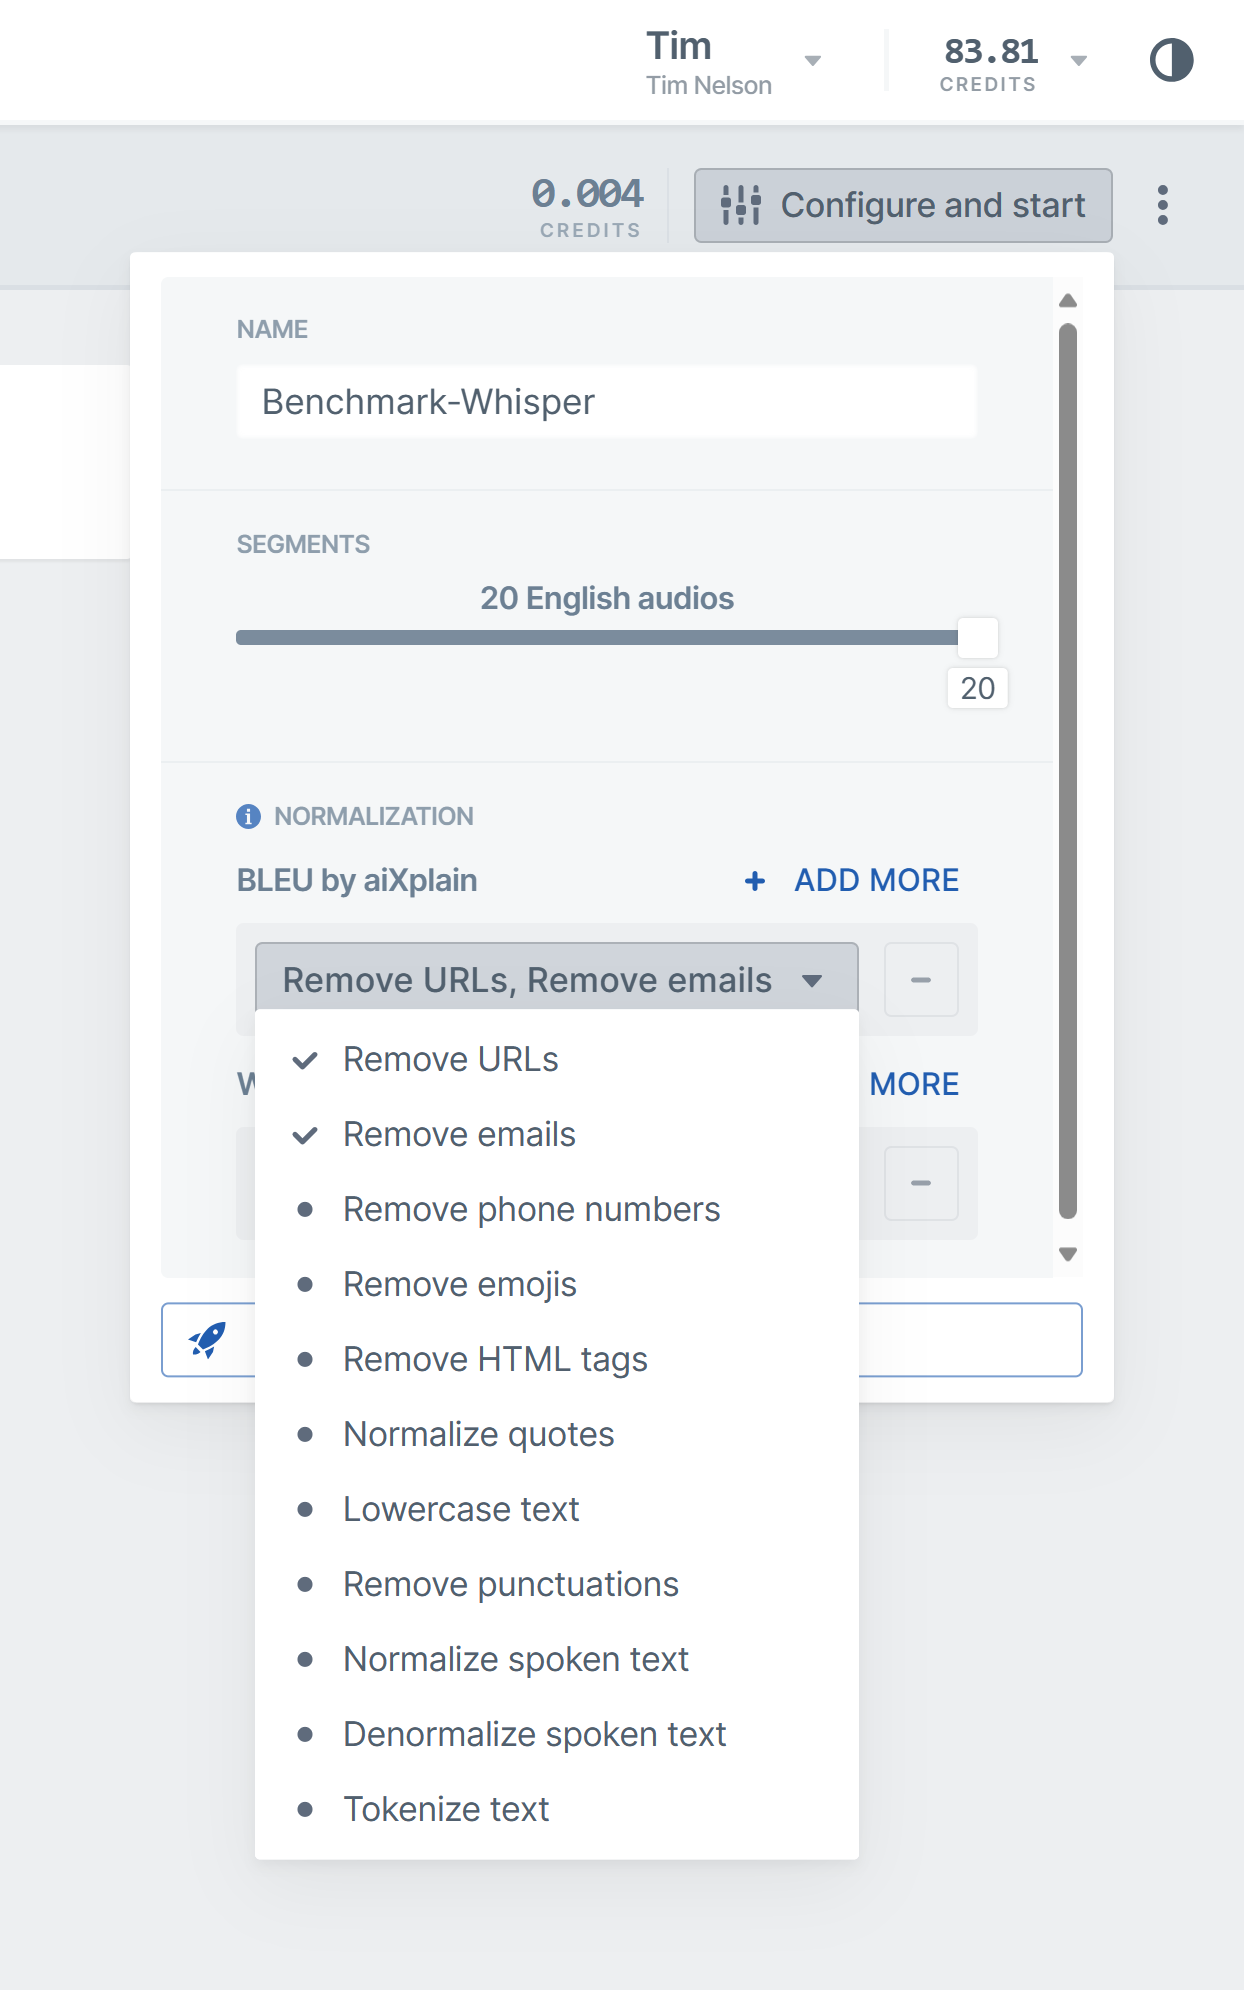
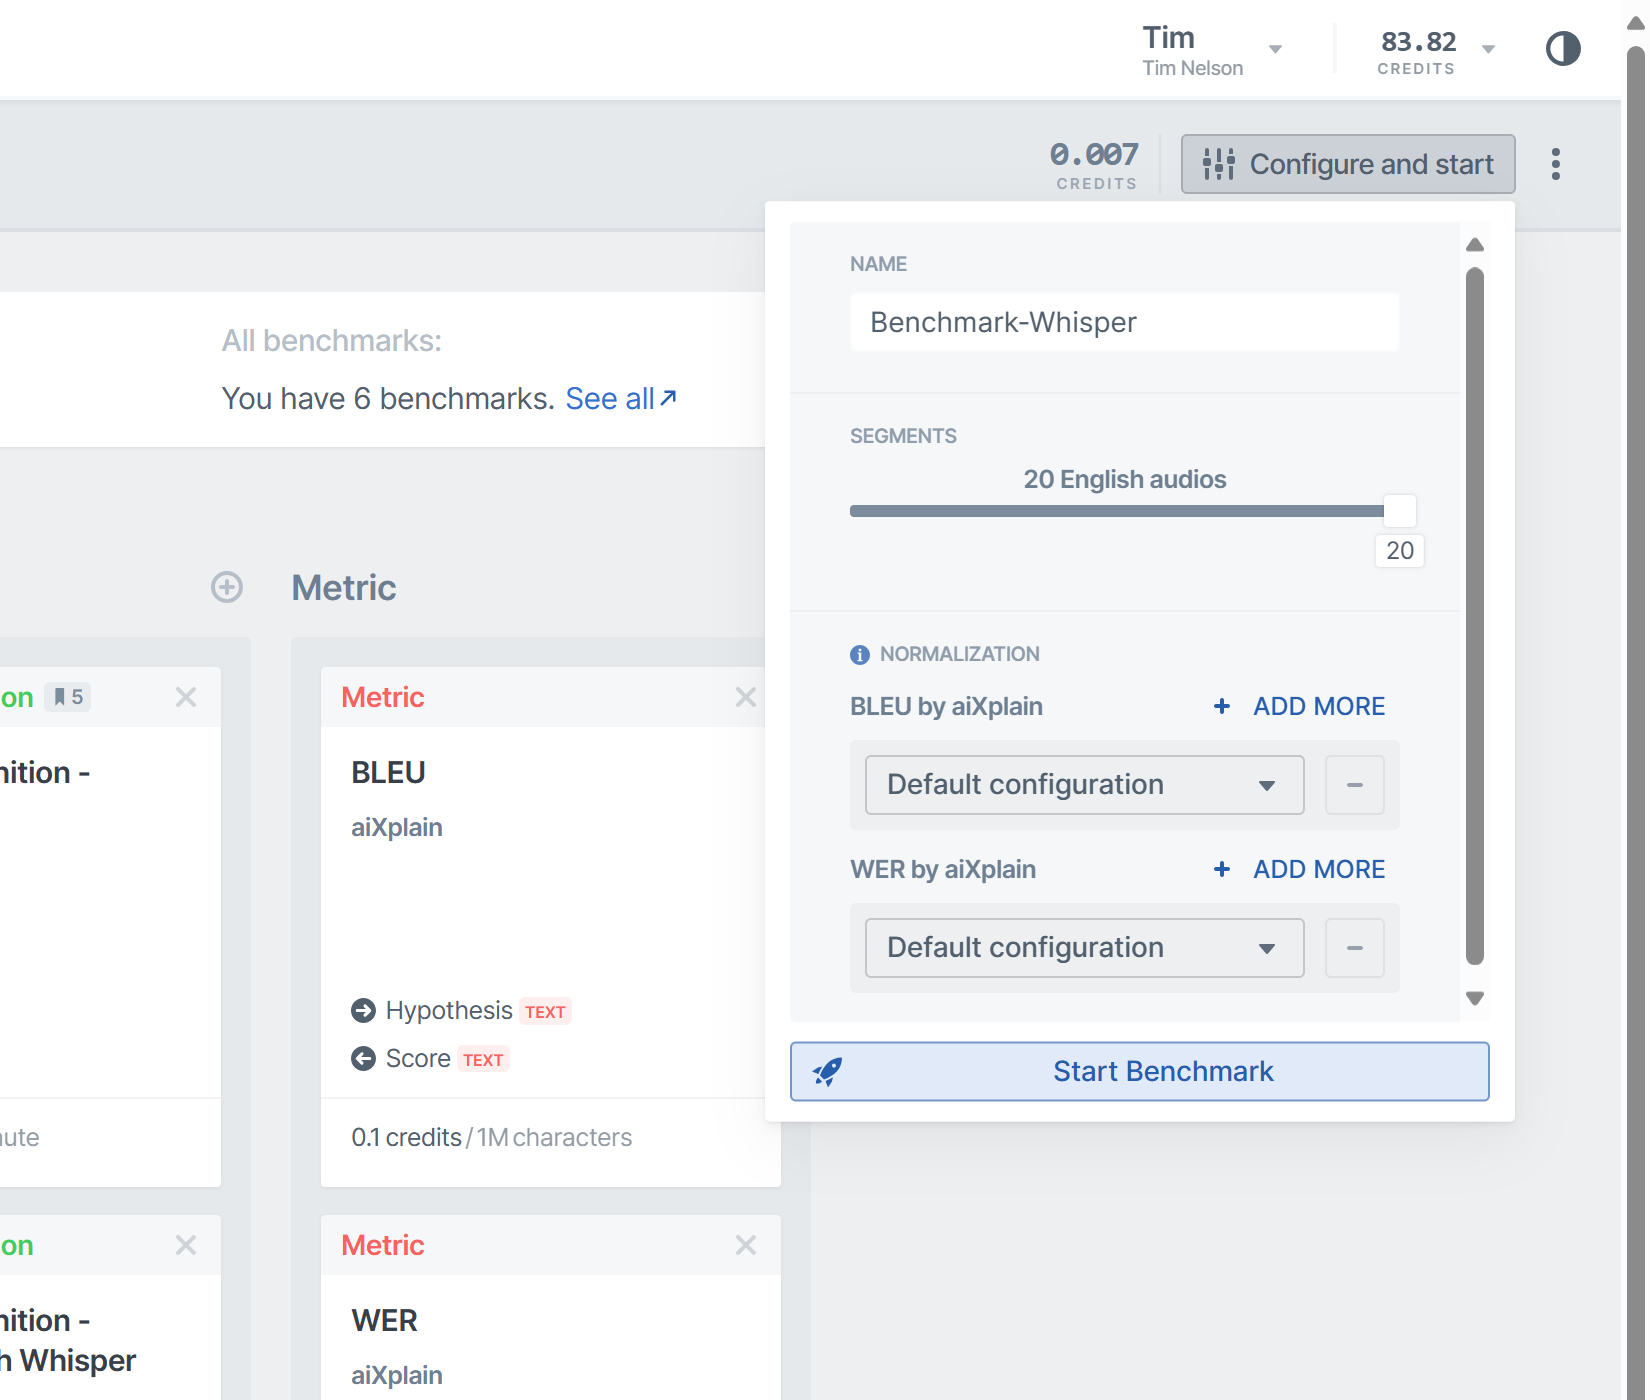
Customize your benchmarking job by configuring the benchmark settings. These settings include details like the Benchmark name, the number of segments to use for Benchmarking and metric-related settings. Reducing the number of benchmarking segments can speed up calculations and save memory. Be sure to strike a balance between the segment count, your budget constraints, and the required level of detail. Please note that the estimated cost for the benchmarking is displayed to the left of the "Configure and start" button.
5. Initiate the Benchmark process
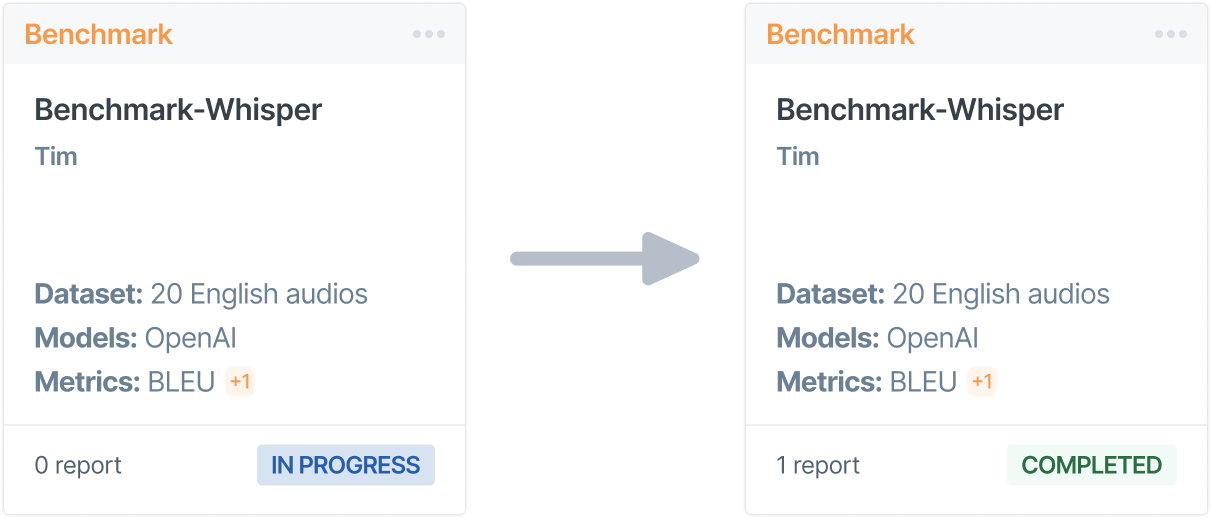
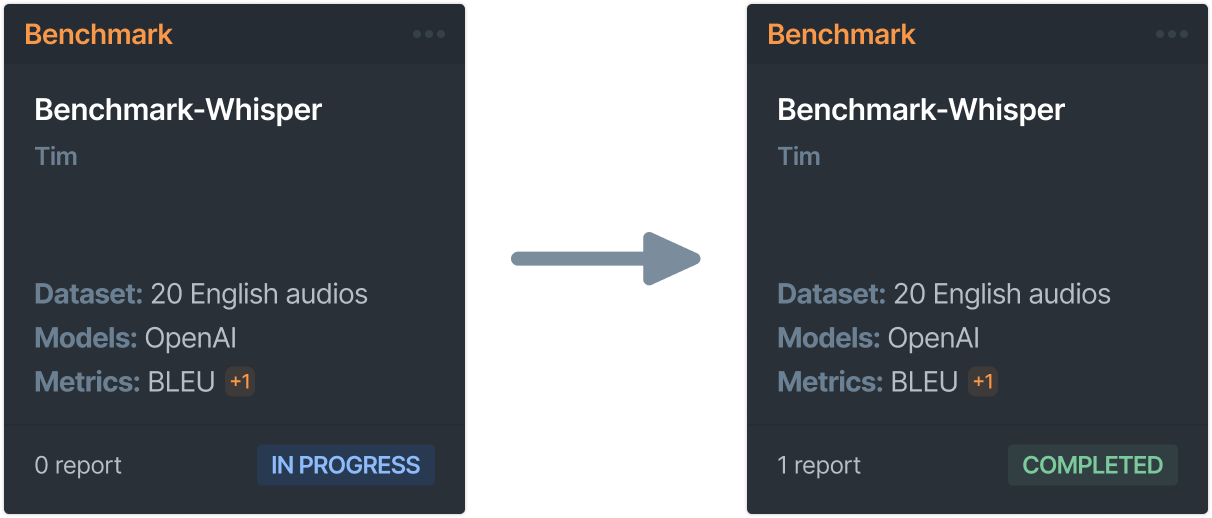
Click the "Start Benchmark" button located at the bottom of the "Configure and Start" bar. Once the benchmarking process begins, you will see the benchmarking report along with an estimated completion time. Benchmarking can take several minutes to hours, depending on the number and type of models you select, the size of the dataset(s) and the number of metrics you choose. You can also find your Benchmark card in your assets. Its status will be In Progress while the Benchmark is running. You can view your Benchmark once it's complete.
Normalization
We have methods that specialize in handling text data from various languages, providing both general and tailored preprocessing techniques for each language's unique characteristics. These are called normalization options. The normalization process transforms raw text data into a standardized format, enabling a fair and exact performance evaluation across diverse models.
Normalization Options
- Remove URLs
- Remove emails
- Remove phone numbers
- Remove emojis
- Remove HTML tags
- Normalize quotes (standardize quote styles)
- Lowercase text
- Remove punctuations
- Normalize spoken text
- Denormalize spoken text
- Tokenize text
